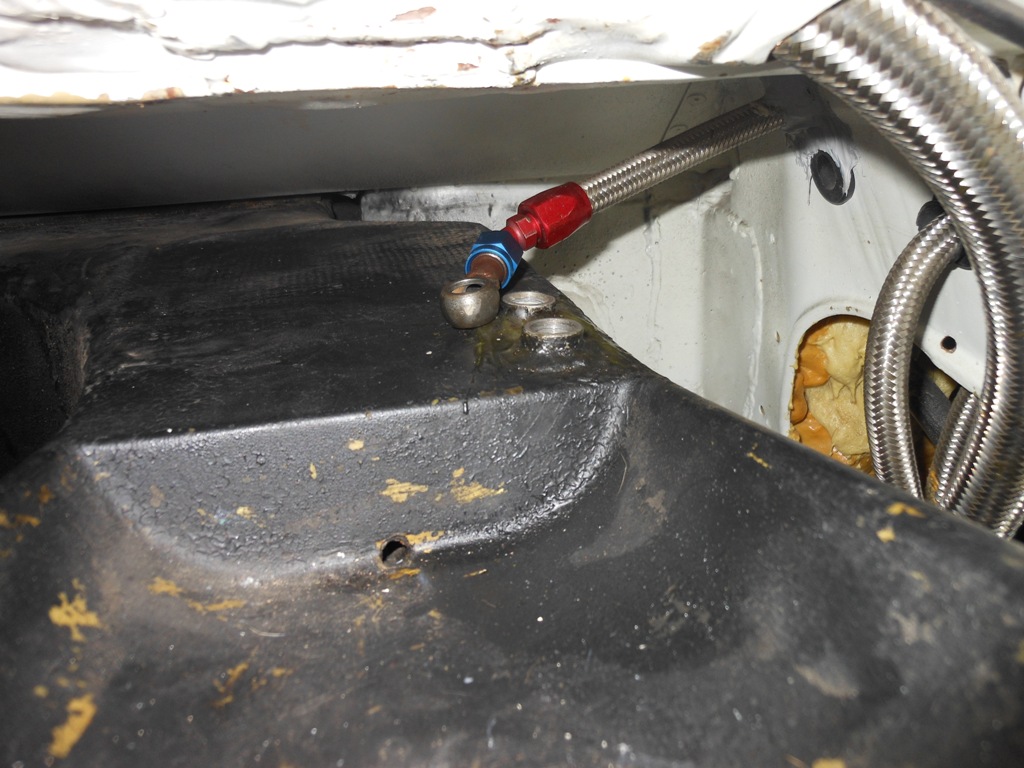
Since my plan to install dry sump into the car is moving along nicely, I need to clean up the back end of the car, fix a leak in the fuel tank main feed which appeared after the 2011 Texas Audi State Meet at Cresson in February and make space for the dry sump tank. So I decided to remove the fuel tank from the car. The fuel tank itself is an Audisport kevlar unit. Its made from two pieces which are joined hemispherically about the equator at a slight angle to align with the fill neck. There are various insert fittings for banjo bolts and the fuel pickups and senders.
Step 1 appears to be remove the battery. As you can see below its held in place with twelve 10mm bolts. The tray itself is aluminum and has been lightened with holes much like the mounting flat which is welded into the car. I need to get to the two trunk drains to repaint the trunk. One is under the battery and the other is on the driver side of the car.
Once the battery and tray are pulled, the next step is to remove the twelve 10mm bolts holding the tank to the floor of the trunk, These are captured bolts and the corresponding nut has been welded into the body of the car from the underside. There are also 3 bolts which hold the top of the fuel tank to the rear deck. Those are not captured and I had to have a helper hold a wrench on the inside of the car.
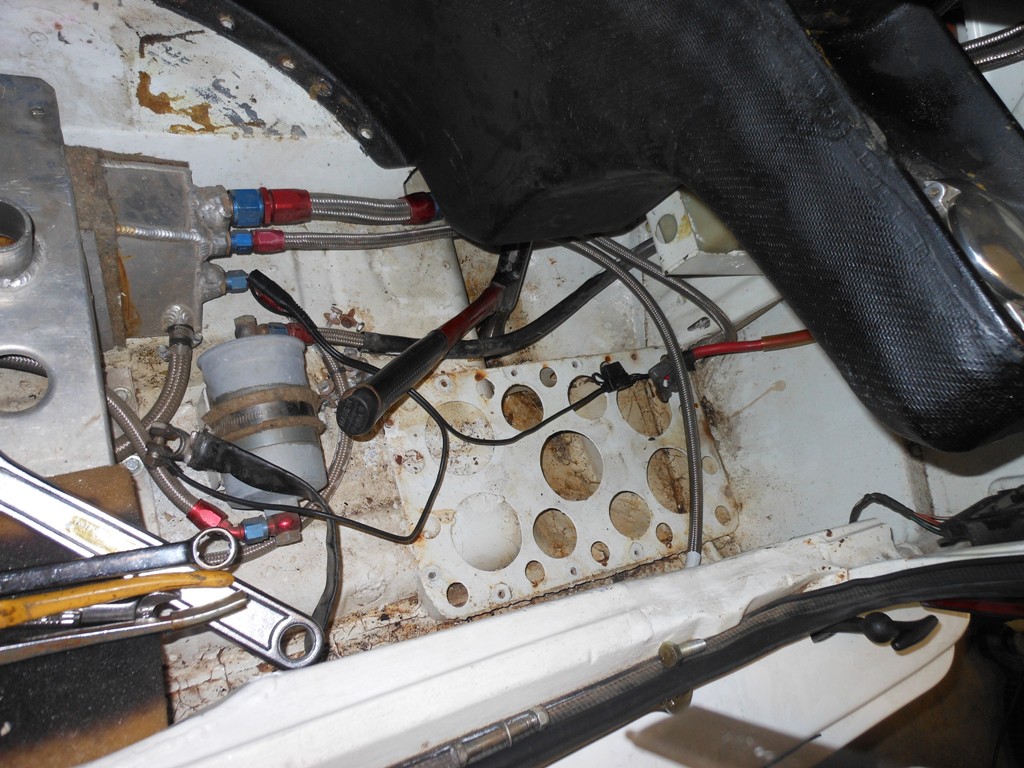
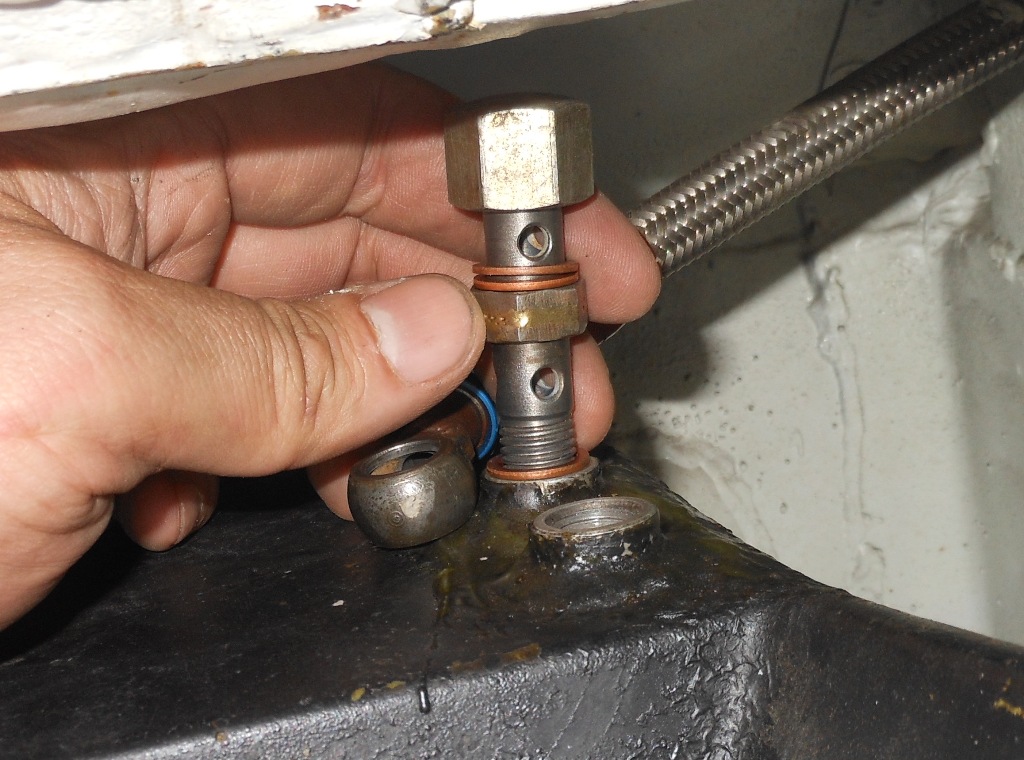
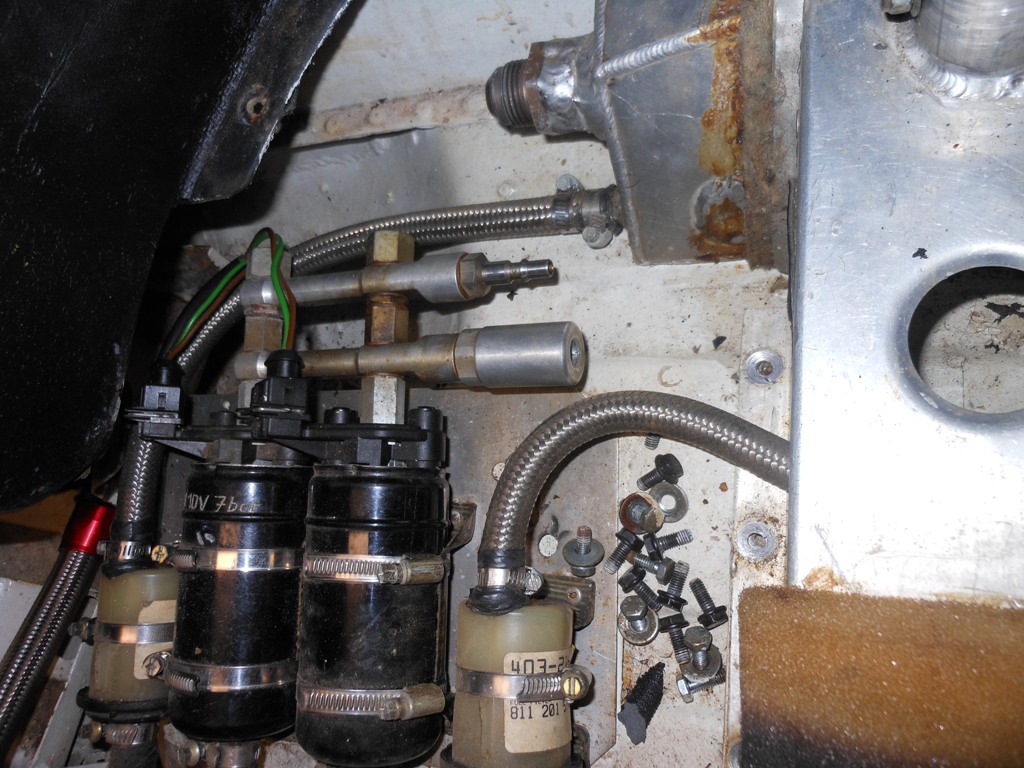
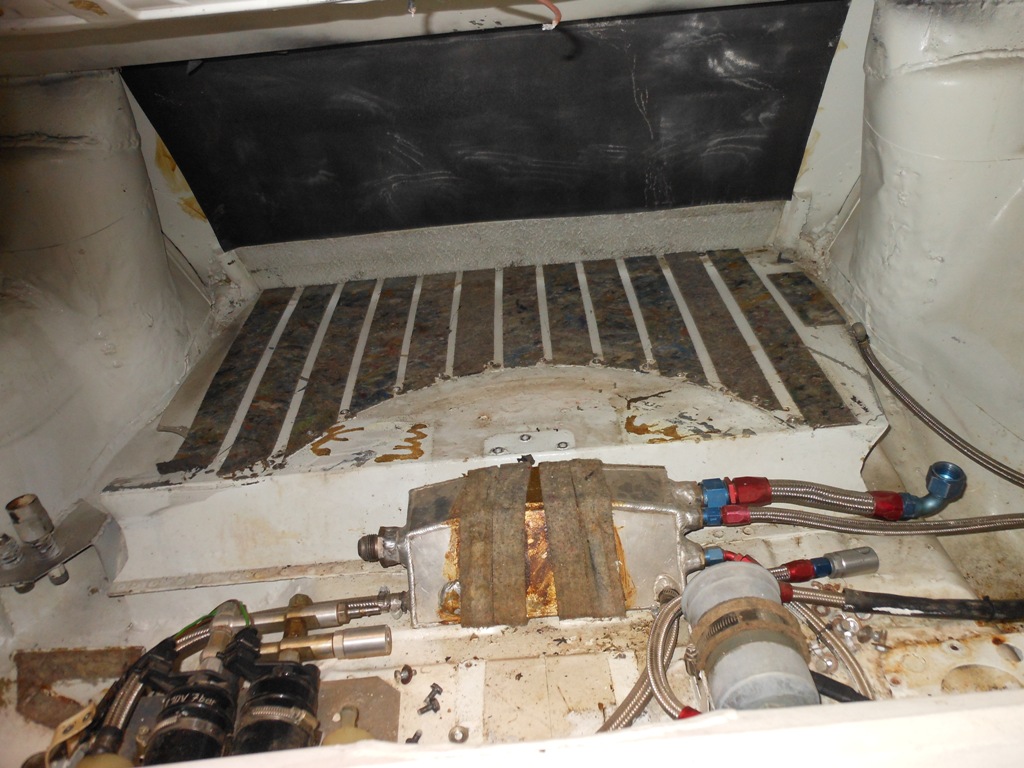
Remove and mark the banjo bolt fittings, this is the fuel return line. Although low tech, the inserts are epoxied to the shell to help adhere them in place, I suspect this epoxying is done AFTER the tank is installed in the car and the lines hooked up.
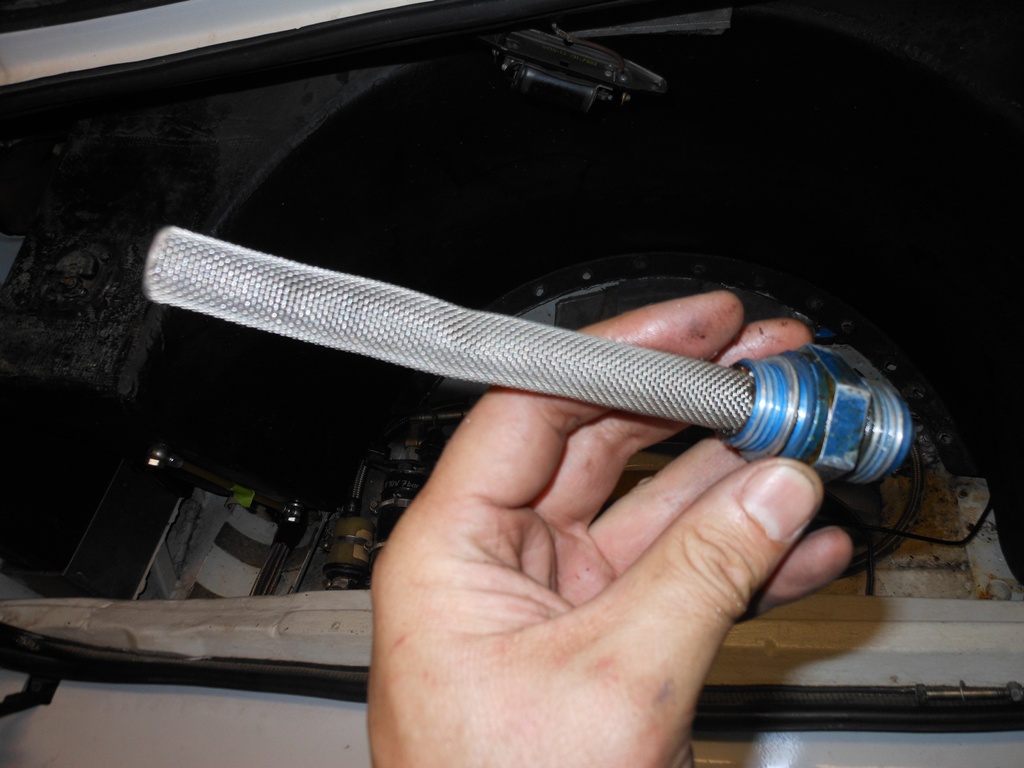
Audi used a homemade double banjo bolt. which has been brazed together. Quite clever, Then then rifle drilled out the part and capped it.
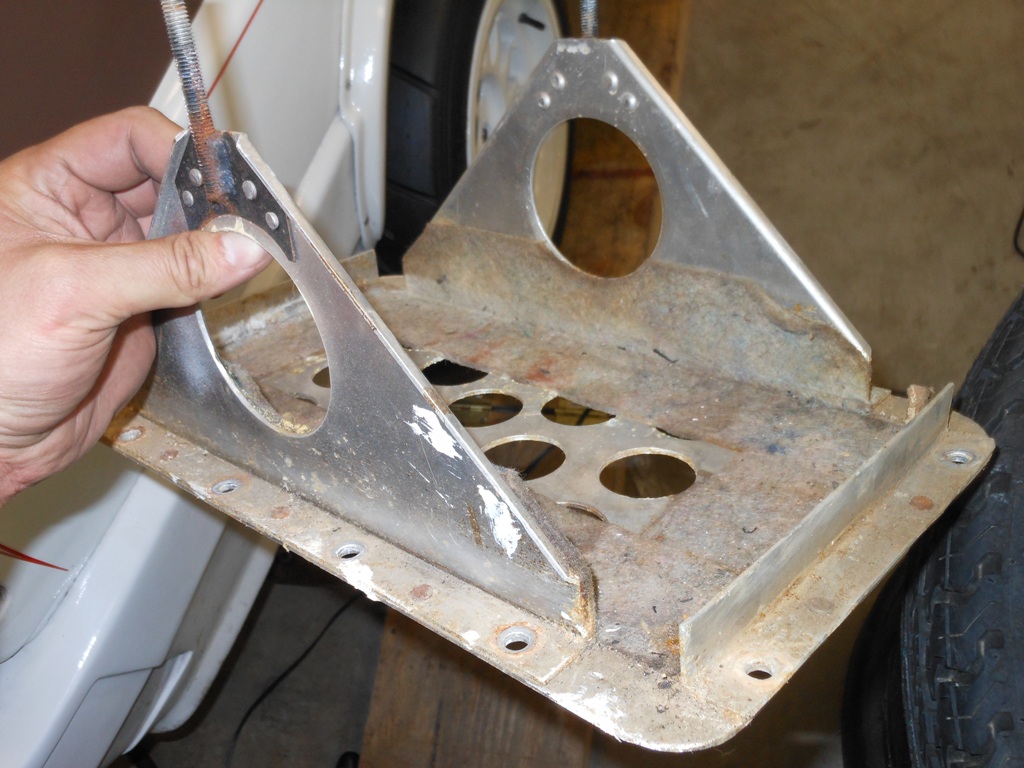
Here's the battery tray. Very light and strong.
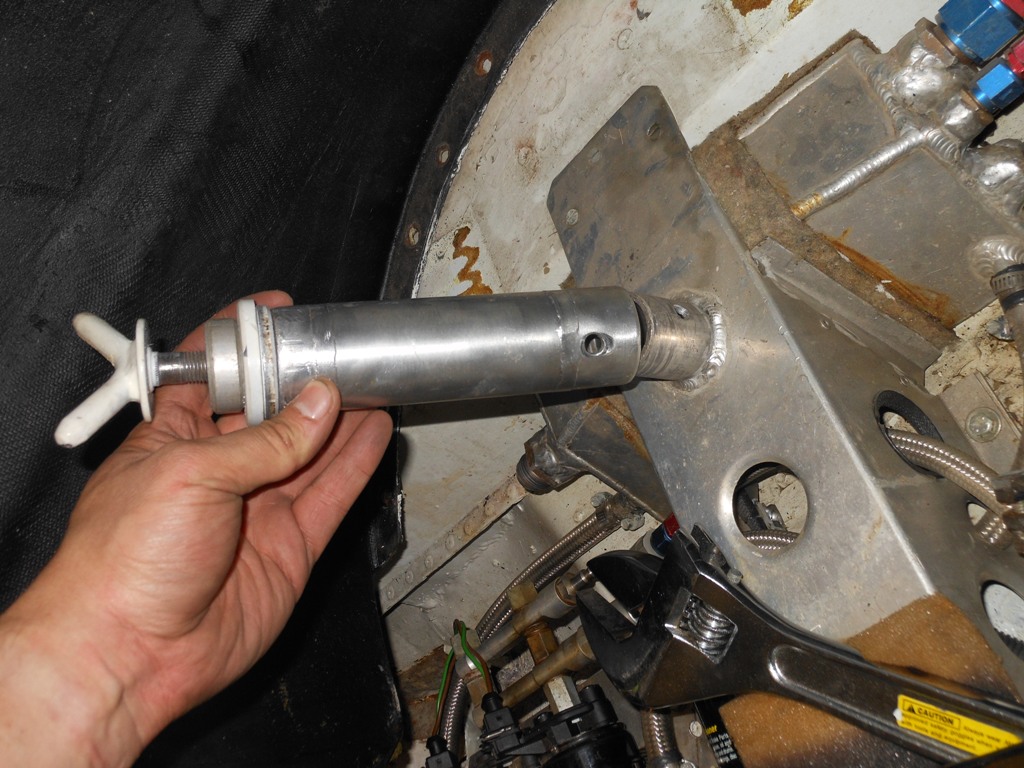
The spare tire holder has a removable shaft which I hope will allow the tank to clear so it can be removed easily. Use a 13mm wrench to take the bolt off and twist and pull and it comes off.
So here is the tank ready to be removed, or so I thought, It looks like that
spare tire post is in the way, So I'm going to have to pull that whole center
assembly and the trunk light. Notice how the body work has been smashed
down on either side of the back of the car to get the tank out.
I also have to pull the two fuel pickups on the bottom side of the tank.
The portion of the body which is smushed to make room for the tank to go in
and out. Thats my best technical term. Smushed.
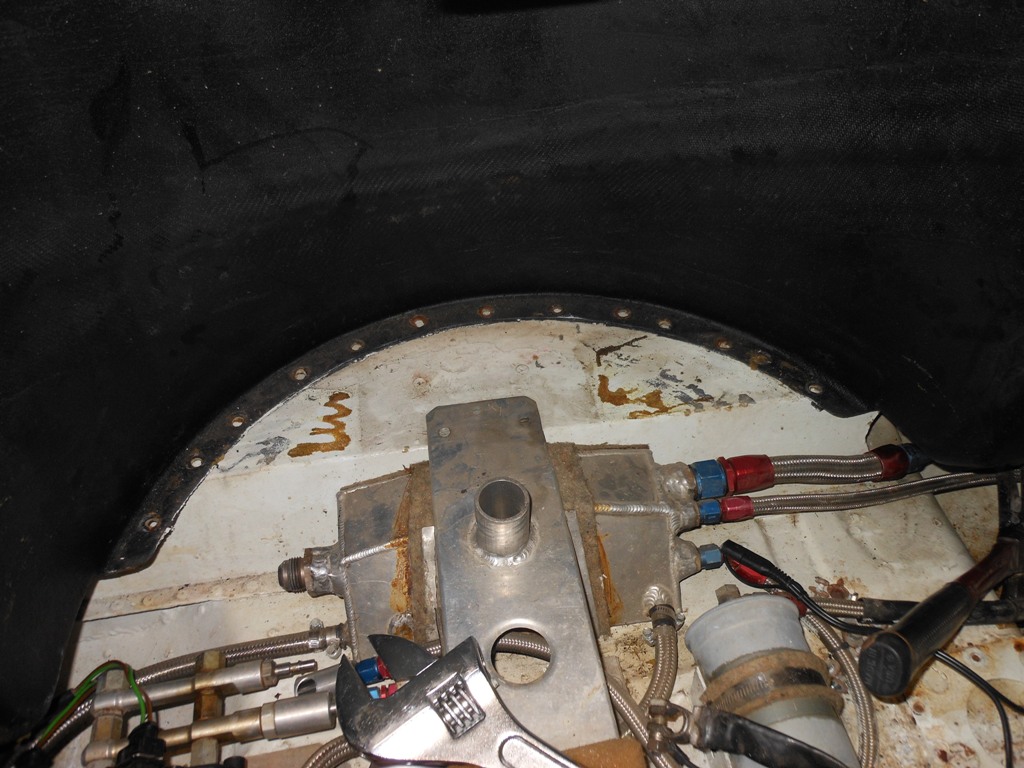
Here's the fuel pickups. They're AN fittings threaded into a metric bung embedded in the kevlar tank. The screen is a basic fuel filter.
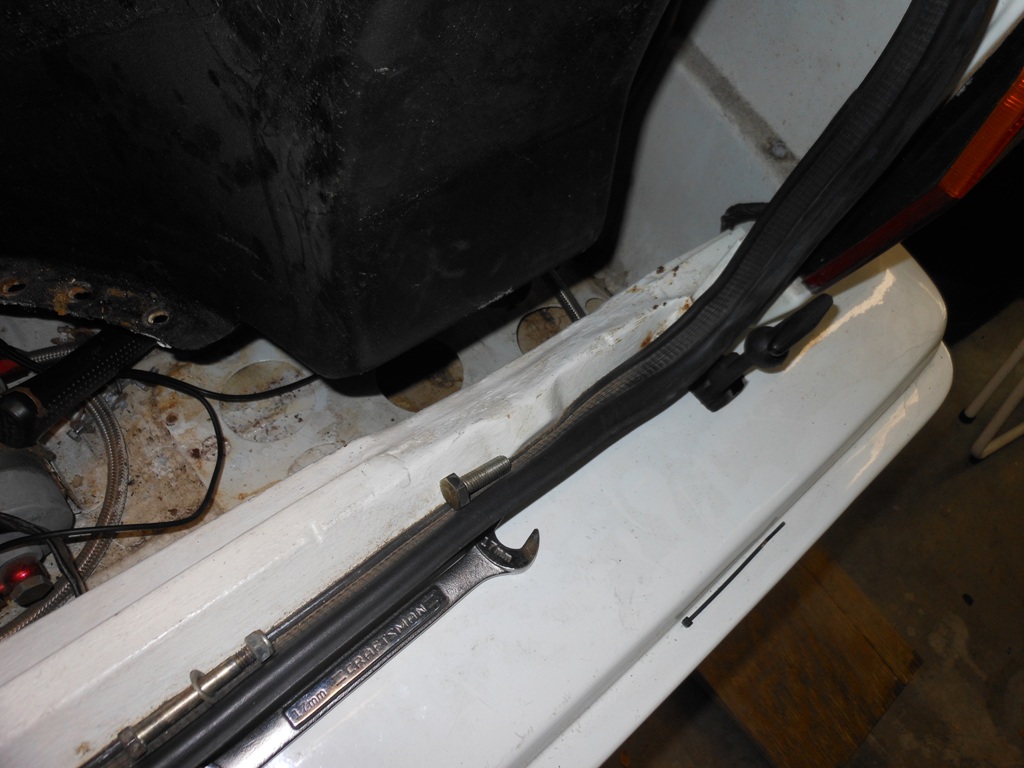
I have to undo some fuel lines. and the eight 10mm bolts which hold the spare tire mounting bolt to the floor of the car.
Remove the eight 10mm bolts on the back of the car which hold down the
aluminum bracket holding the spare tire.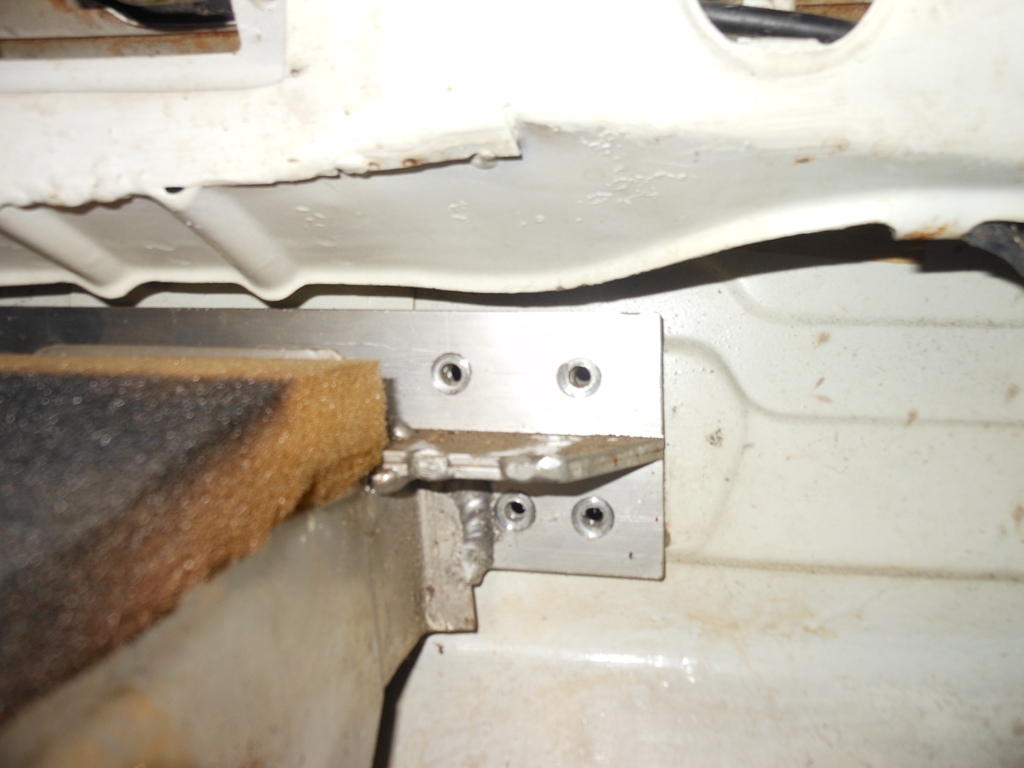 \
\
Three flathead recessed machine screws holding the front of the plate to the floor of the trunk.

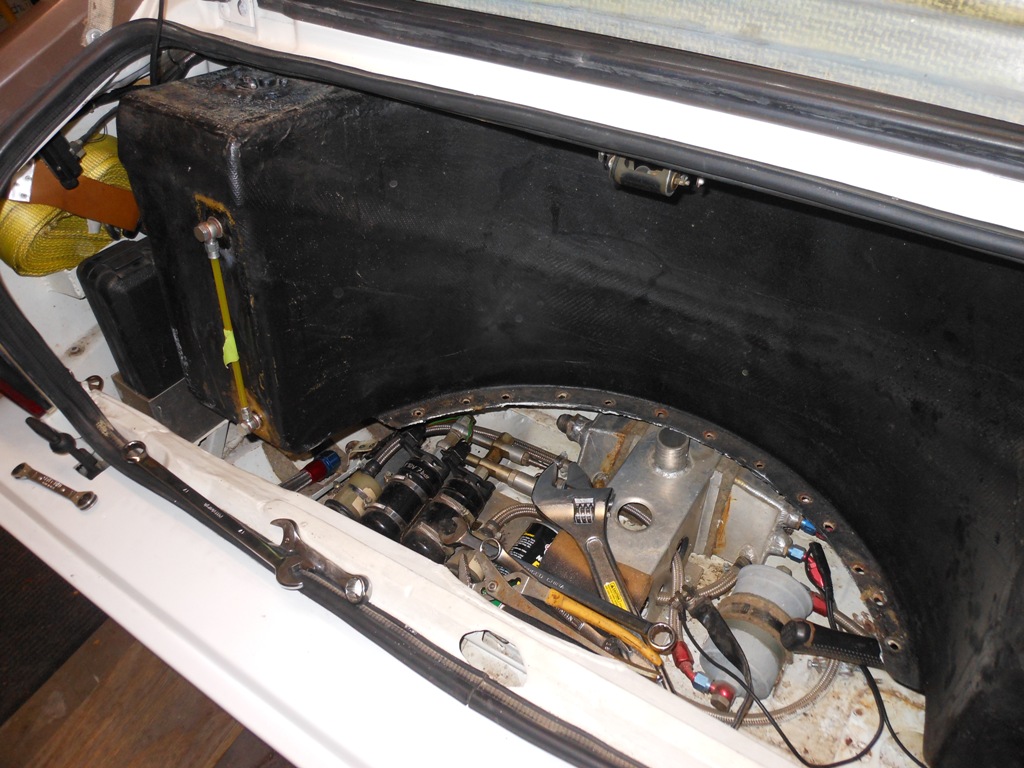
Here it is removed from the car. The tank slid right out.
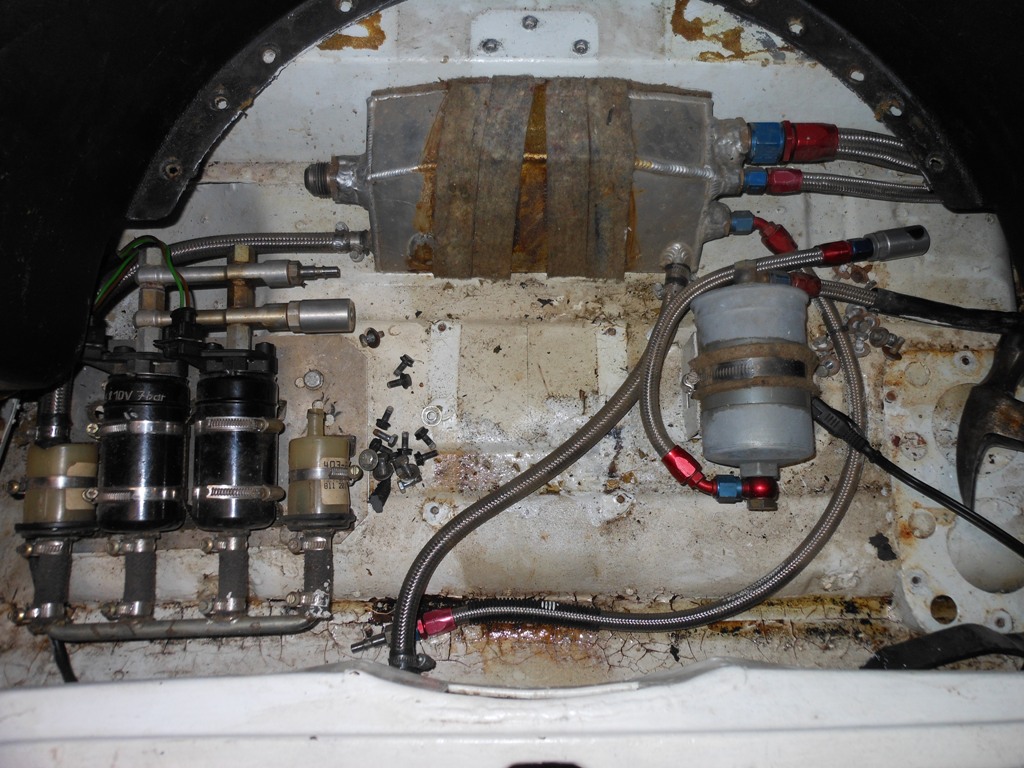
The whole left behind.
And a better view of the shock tower reinforcement. The mounting plate to the upper left is for the dry sump setup there is a thermostat which goes there.
